Showing posts with label cheesecake recipe. Show all posts

Wednesday, May 22, 2013

The Summer Slow Down

"ZOMG!  My stats have dropped way down, I haven't had a sale in days, what is Etsy trying to do to me?!?"

If you've been in the Etsy forums at all...pretty much ever...you've probably seen posts like this crop up--people freaking out (or just expressing mild concern) that their stats are dropping, and looking for some kind of explanation.  I thought that'd make for an interested blog post.

First of all, welcome to the wonderful world of retail.  There are ebbs and flows in every retail business--sometimes you'll be up, sometimes you'll be down, and sometimes you'll break even.  There are a thousand reasons why things start to slow down this time of year, or any time of year really.

There are no major American "gifting" holidays between Father's Day and Grandparents Day.  A whole string of big gifting holidays are clumped right together month after month for the first half of the year.  If you want to get technical, there's really a major (American) holiday every single month from September through June (for future reference: Grandparent's Day, Halloween, Thanksgiving (inc. Black Friday and Cyber Monday), Christmas, New Years, Valentines Day, St Patty's day, Easter, Mother's Day, Graduation, Prom, Father's Day...)  Let's face it, for like 10 months out of the year, we're spoiled rotten with built in holidays and themes to make, market and promote around.

There are lots of smaller occasions scattered around, but when we're talking retail, these are the ones that seem to drive the most traffic in the months and weeks before.  So keeping that in mind, if you don't have items relevant to these gifting holidays, your traffic is probably going to take a hit.  No one cares if you sell ladies underwear when they're shopping for Father's Day (well, maybe someone does...) so naturally, you'll see a drop in traffic.


 A myriad of other reasons could be affecting your traffic as well.  The weather's getting nice; school's wrapping up; people are spending their disposable income on vacation planning, not buying stuff; you haven't tweaked your SEO-type stuff for awhile; you haven't listed anything new in awhile, you aren't doing any promotion off-Etsy...the list is really endless.

If you're doing everything you know to do, and not seeing results, that doesn't mean that Etsy is screwing with you.  Yes, Etsy is constantly running live experiments, and we all know change is hard.  But while these experiments most definitely impact those being included (a small percentage we're told), they simply can't be held accountable for a wide spread slow down.  That's just not logical.

So if things are slowing down, and you're frustrated, take a break.  Use your new found free time to create new things, read a book, lounge in the sun, enjoy not being chained to Etsy.  And for those of you relying on Etsy for your income, I can fully empathize with the stress the summer slow down must cause.  My best advice--do what you can, but remember, ultimately it's out of your hands, and freaking out about it isn't going to help anyone.  Make a note of when the slow down started, and try to plan for it next year.  Keep plugging along, things will pick up again soon.  (I hope :\)

In the meantime...if you're really bored because your stats fell off a cliff and are showing no signs of life, here's a recipe for some super awesome "cheesecake" stuffed strawberries.  They're sugar and fat free, unless you drizzle them with chocolate, so feel free to indulge a little.


Ingredients:
8oz fat free cream cheese
Lite Cool Whip
1 box Jello sugar free, fat free vanilla pudding mix
1 cup low fat/skim milk
Strawberries.  Lots of strawberries.

Instructions:
  • Let cream cheese soften a bit on the counter or in your mixing bowl.  
  • Using a handheld or stand mixer set on low speed, mix up the cream cheese and milk.  You should have mostly liquid in your bowl, with maybe a few chunks of cream cheese hanging about.
  • Add the pudding mix, and blend for 2-5 minutes, until things start to thicken up.  Don't forget to scrape the bowl down to make sure all of the pudding mix gets incorporated, or you'll end up with a grainy filling.
  • Add about a quarter of the container of thawed Cool Whip and mix until just incorporated.
  • Gently fold in 1/3 to 1/2 of remaining Cool Whip.
  • Transfer "cheesecake" filling to a Ziploc bag.  Let the mixture hang out in the fridge while you prep the strawberries.
Photo credit: Onceamomalwaysacook.blogspot.com
  • Hull the strawberries.  I use a small paring knife and gently cut out the centers of each berry, being careful not to pierce the sides.  You can cut off a small portion of the tip so your berries stand up right, but they taste just as good if you don't.
    • Be sure to remove enough of the hull to create a pocket that goes the length of the berry, so you get a bit of cheesecake in every bite
  •   Once you've finished hulling the strawberries, grab your bag of filling from the fridge, clip off a small piece of the corner, and use the Ziploc bag to pipe the filling into the pockets you created. 
  • You could stop here and enjoy these little bites of deliciousness (that just happen to be sugar and fat free) or you could melt some dark chocolate chips and drizzle a fair amount over your strawberries, making them completely wonderful Chocolate Covered Cheesecake Filled Strawberries

Random, unattributed web photo.  Because mine were gone before I could snap a pic or 2.  They're that good...
Tune in next week for some information on branding, and for a link to a special guest blog post I wrote for my favorite Etsy team :)

Oh, and just a little shameless promotion (*grins*) Be sure to stop by my Etsy shop and check out all the New Arrivals I'm adding.  There's some really cool stuff coming soon!

Happy Sales!

Tuesday, March 19, 2013

Springtime and Cheesecake

 Cheesecake?  Yes, cheesecake, because not every entry can be about jewelry =P

A quick update...Things are going pretty well for Little Hill Jewelry.  I'm still terrible at remembering to update this blog, so I'm sure there are tons of things that have gone on that I should mention, like my gifting a few celebrities, and revamping my website. I'm also working on some new items for spring/summer, but you can see those sneak peeks over on my Facebook page.

It's snowing here in Vermont, which is cool and everything, but the first day of spring is like, a day away, and we've got 8 inches of icy, wet snow on the ground.  Thank goodness for the internet, and my awesome Promotional Frenzy team members over on Etsy--check out some of their spring themed artwork!

This is a stunning photo of Cherry Blossoms in Snow from HausofAriella 
A wonderful print of a blossom against blue sky from NewCreatioNZ
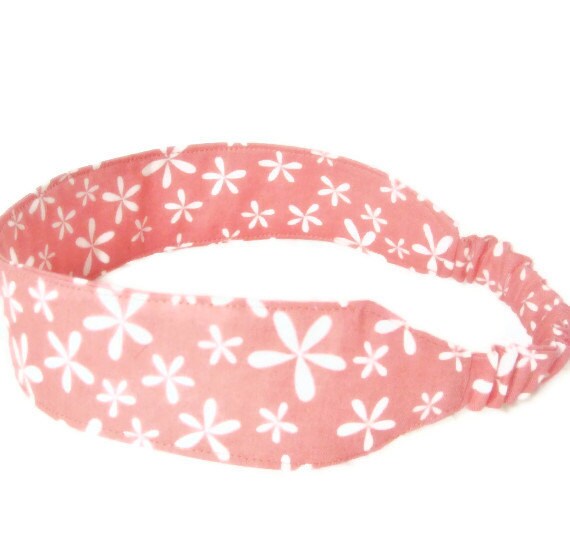
A pretty floral headband from NewEnglandQuilter
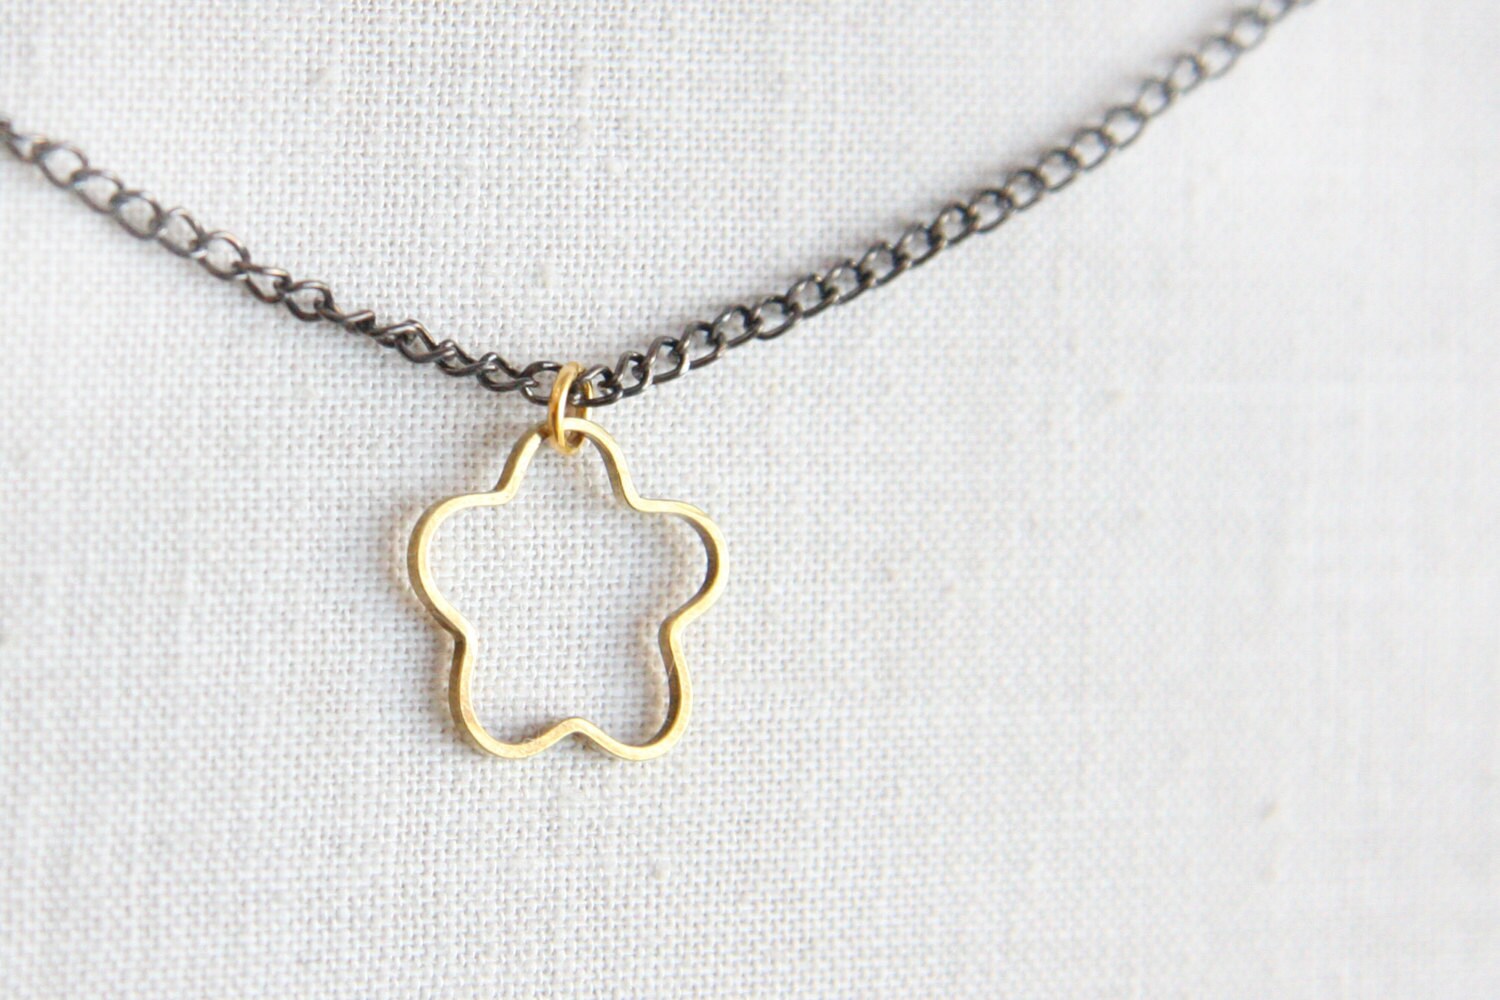
And a beautiful brass flower pendant from KapKaDesign


So I thought I'd change things up a little this post, and share my new and ridicilously fantabulous recipe for cheesecake.  Yes, I said cheesecake.  I'm obsessed with cheesecake, but don't eat it often, because desserts aren't generally the healthiest thing on the planet.  Now, don't get me wrong, this cheesecake probably shouldn't take up residence in your daily food pyramid, but it's just perfect for a special treat that won't weigh you down.

I wish I'd thought of it while I was cooking and snapped a few photos, but food-blogger I'm not, so it didn't occur to me.  I know reading a recipe with no pictures is endlessly boring, but believe you me, it's totally worth it!  I know, I know, enough babbling on...here's the recipe!


Totally Awesome and Almost Fat/Sugar Free Lemon Cheesecake

Ingredients:
For the crust:         13/4 C Nilla Waffer Cookies, crushed fine
                              ¼ C unsalted butter, melted
For the Filling:      (3) 8oz packages of fat free cream cheese
                              1C fat free sour cream
                              2C Splenda (or other preferred sugar substitute)
                              3 large eggs
                              2t lemon zest
                              2T lemon juice
For the Topping:   11/2t lemon zest
                              6T lemon juice
                              1 large egg, plus 1 large egg yolk
                              1/2C Splenda (or preferred sugar substitute)
                              2T unsalted butter, cut into small bits

Instructions:
  1. Preheat oven to 325o
  2. Mix cookie crumbs and melted butter until crumbs are evenly coated.  Press crumbs evenly into the bottom of a prepared 9” springform pan. 
    • Don’t have one?  No big deal, you can really use any pan you like so long as it’s comparable in size.  I like the springform pan because the sides pop off, which makes removing the cheesecake a breeze.  If you’re going to use just a regular 9x9” square pan, I suggest lining it with parchment paper, just to save yourself headaches down the line.
  3. Bake crust in preheated oven for 8-10 minutes (I left mine in for 12)
  4. Remove pan from oven and let cool on a wire rack while you prepare the filling
  5. Using a hand or stand mixer, cream together the cream cheese and sour cream. 
    • This is way easier to do if the cream cheese has been hanging out on the counter for a bit.  I took mine out about an hour before I got started, and it was the perfect consistency.
  6. Add eggs one at a time, mixing until just blended.  Then gradually add the Splenda, mixing well.  Finally, add the lemon zest and juice.
  7. Pour filling into the crust and smooth.  Now you’re ready to bake it!
    • Okay, so here’s the thing.  Even full fat/sugar cheesecakes can crack on the top while their baking.  It’s just what cheesecakes do.  By changing the chemistry of the cheesecake (fat free and sugar substitutes), this is actually way more likely to happen.  Fear not, there is a trick to help prevent this!   
    • When you put your cheesecake in the oven to bake, add a small pan of water on another rack.  I bake my cheesecake on the middle rack, with a Pyrex dish with about 1 ½ cups of water on the rack above it.  This creates a moist heat environment, which helps keep the top of your cheesecake from getting all dry and cracked.  But, ya know, even if it does crack, it’s not like it effects how yummy this cheesecake is :)
  8. Bake cheesecake.  How long is really going to depend on your oven, and your environment, and how the food gods are feeling that day.  Generally speaking, it’s going to take between 1 hour 25 minutes and 1 hour 45 minutes.   
    • Normally with cheesecakes, you take it out when the tops starts to get that lovely cream and brown glow to it.  Since we’re using Spelnda, that’s not going to happen (Splenda doesn’t caramelize like sugar), so you have to keep a really close eye on it.   
    • The cheesecake is done when the top looks dry and the center is only slightly jiggle-y when you gently shake the pan.  It’s part science, but mostly magic and instinct.  The cheesecake is going to continue to set up after you take it out of the oven, so a little jiggle is a good thing.
  9. Once the cheesecake is done, take it out and let it hang out on a wire rack while you make the topping.
  10. The topping is basically lemon curd.  It’s tart, sweet, and lemon-y, and it’s not strictly necessary to make this cheesecake, but it is a great finishing touch.
  11. Set up a double boiler.   
    • If you don’t have one, you can improvise like I do and just set a heat safe bowl over a pan of simmering water.  Make sure the bowl doesn’t touch the water, and that steam can escape, and you’re all set.
  12. Add the zest, juice, Splenda, egg, and egg yolk to the bowl and set over simmering water.  Whisk until the mixture is hot and frothy, about 5 minutes.  You really have to whisk constantly to keep the eggs from curdling. 
  13. Once the mixture is hot and frothy, gradually add the butter bits, whisking until each addition melts.  Once all the butter is added, whisk constantly for about 7 minutes until the mixture is smooth, glossy and coats the back of a spoon.  Remove from heat and cool for about 30 minutes, stirring occasionally.
  14. Remove the cheesecake from its pan to a serving plate.  If using a springform pan, run a thin knife around the edge to loosen, and then just pop off the sides, then gently slide the cheesecake onto a flat plate.
  15. Top the cheesecake with the lemon curd.   
    • Be sure to do a little taste test of the topping before slathering the cheesecake with it.  It is lemon curd after all, and can be a little tart.  I only ended up using about 2/3rds of the topping spread thinly along the top.
  16. Let the topped cheesecake hang out at room temperature for another 30-45 minutes, and then place in the fridge for several hours, or overnight.
  17. I totally didn’t wait several hours.  More like—barely an hour.  You just want to chill the cheesecake and make sure everything is nice and set before you cut into it.  Try and hold off as long as you can.
  18. Top with fresh raspberries for a fresh burst of color and dig in!  The only fat is from the butter in the crust and topping, and the only sugar is from the cookie crumbs in the crust, making this almost fat and sugar free, and totally, deliciously, diet friendly.
And that’s all there is to it.  Try it out, and let me know in the comments what you think!
Ta ta for now :)